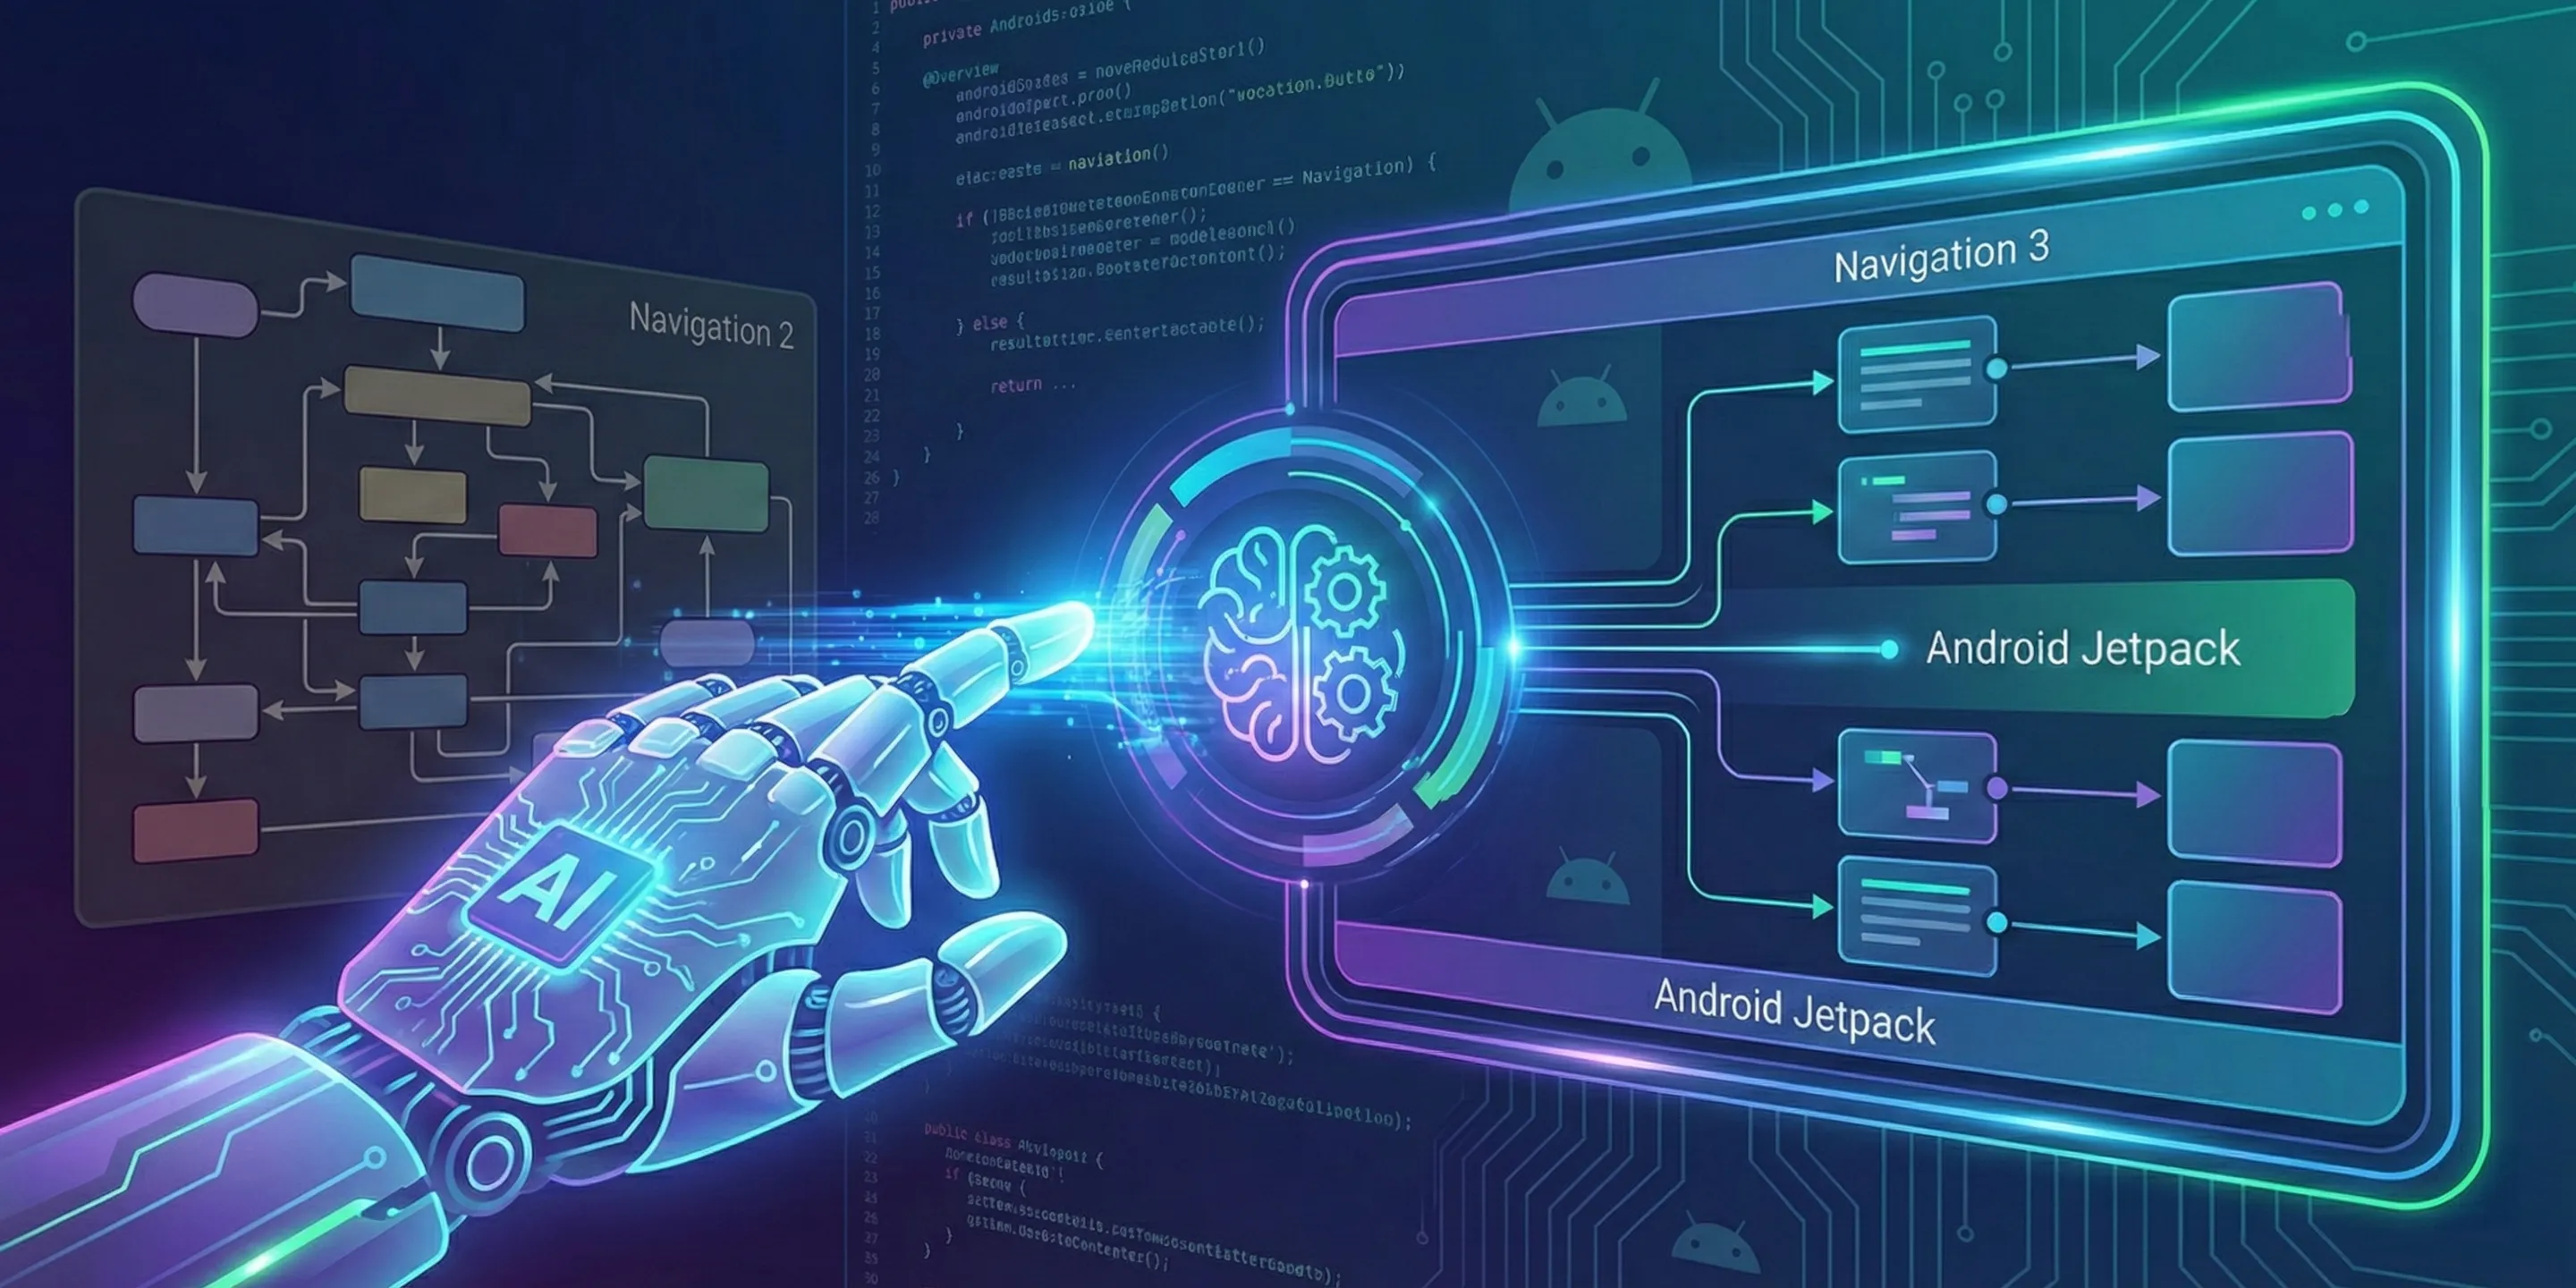


On-Device OCR on Android with ML Kit Text Recognition v2 and CameraX

Sample Repository: The complete POC is available at atomicrobot/VINScannerPOC. Smaller code snippets are shown inline; longer implementations can be explored in the repo.
Getting Computers to Read
Have you ever been in a situation where you needed to extract some text from the “physical world”—be it a flyer, a poster, or a billboard—and enter it into your phone? Who wants to manually transcribe the written word? It’s labor-intensive and time-consuming. It would be easier if you could just point your phone camera at the text and—boom—it appears on your screen.
Well, I’ve got a fun afternoon/weekend project for you. With the help of ML Kit’s Vision APIs, we are going to build a small app to scan and decode Vehicle Identification Numbers (VINs) entirely on-device.
Optical Character Recognition (OCR)
For the uninitiated, we’re going to wander into the well-trodden fields of Optical Character Recognition (OCR). OCR is an electronic (our case) or mechanical method of identifying text, whether typed or printed, and converting it into an equivalent machine-encoded representation.
When I say “well-trodden,” I mean it. The earliest known OCR method dates all the way back to 1914 with a device, invented by Emanuel Goldberg, that would analyze text and convert it to standard telegraph code. Goldberg, during the 1920s and 30s, would go on to invent what he described as a “statistical machine” for searching microfilm (for which he held a patent that was later acquired by IBM). From there the technology only got better.
In the 1970s, Ray Kurzweil pioneered a more robust method of reading text called “Omnifont,” which was capable of reading text in virtually any fonts and typefaces (typed and printed).
With a heart for noble pursuits, Kurzweil used his technology to create a “reading machine” for visually impaired people. His machine consisted of a flatbed CCD scanner and a text-to-speech (TTS) synthesizer. Eventually, Kurzweil sold his company to Xerox, which itself ended up merging with Nuance Communications.
By the 2000s, OCR had become so popular you could find online services offering “text reading” functionality as well as mobile phones offering “real-time” extraction. I give you all this background to say that this field is well-studied and much ground has been broken, so we don’t need to reinvent the wheel. Using an “off-the-shelf” API, like we are with ML Kit’s Text Recognition v2 API, we get the benefits of a production-grade OCR solution to provide rapid and accurate text extraction.
Getting Set Up
To “get” our phones to see, we’re going to use the CameraX Jetpack libraries that will provide us with a ViewFinder (Composable), UseCases (Preview and ImageAnalysis very important), and lifecycle components. Add the following versions and dependencies to your libs.versions.toml file.
[versions]
camerax = "1.5.3"
accompanist = "0.37.3"
mlKitTextRecognition = "16.0.1"

[libraries]
mlkit-text-recognition = { module="com.google.mlkit:text-recognition", version.ref = "mlKitTextRecognition" }
# Contains the basic camera functionality such as SurfaceRequest
androidx-camera-core = { module = "androidx.camera:camera-core", version.ref = "camerax" }
# Contains the CameraXViewfinder composable
androidx-camera-compose = { module = "androidx.camera:camera-compose", version.ref = "camerax" }
# Allows us to bind the camera preview to our UI lifecycle
androidx-camera-lifecycle = { group = "androidx.camera", name = "camera-lifecycle", version.ref = "camerax" }
# The specific camera implementation that renders the preview
androidx-camera-camera2 = { module = "androidx.camera:camera-camera2", version.ref = "camerax" }
# The helper library to grant the camera permission
accompanist-permissions = { module = "com.google.accompanist:accompanist-permissions", version.ref = "accompanist" }
To keep our implementation faster and simpler, I’m opting for the “bundled” ML Kit Text Recognition library. If you’d like to keep your app size smaller, you can instead use the “unbundled” version, but you must download the model before first use.
In order to access the device’s camera, we must hold the android.Manifest.permission.CAMERA permission. We’re going to use the Accompanist Permissions library to take care of requesting permissions from Jetpack Compose. To keep this blog entry as short as possible (spoiler: it’s still kind of long 😬), I’ll omit code that isn’t integral to displaying a camera feed. The full code for requesting the camera permission can be found here.
The following code is the bare minimum needed to display a real-time camera feed on your device.
View Model
To keep our implementation manageable, we are going to store our core CameraX logic in a ViewModel, cleverly named MainViewModel. Our view model will be responsible for defining our UseCases (read more here), binding them to a LifecycleOwner (with a camera), and updating UIState that we’ll eventually use to build our UI with Jetpack Compose.
Preview use case
 /**
  * UseCase for displaying a camera-stream on-screen.
  */
private val _cameraPreviewUseCase = Preview.Builder().build().apply {
    setSurfaceProvider { newSurfaceRequest ->
        _uiState.update { it.copy(surfaceRequest = newSurfaceRequest) }
    }
}
The magic behind displaying a camera feed on-screen (‘viewfinder’) is the Preview use case. Its sole job is providing a Surface to a Camera to draw its pixel data. When we set a Preview.SurfaceProvider on the Preview use case, we’re signaling to the bound camera that we are ready for its pixel data. At this point, the Camera wants needs a Surface and will invoke our registered surface provider, passing to us a SurfaceRequest.
The SurfaceRequest is a single-use “bridge” that CameraX uses to request a Surface. The request contains surface requirements for Surface characteristics, such as width and height, and callbacks to observe surface state changes. Once the UI provides the Surface, the camera begins streaming its preview frames directly to it, allowing the user to see exactly what’s hitting the camera’s sensor.
We want to expose the SurfaceRequest to our UI so that we can pass it to the CameraXViewfinder() @Composable. Internally, it will create a Surface, backed by a TextureView hosted in an AndroidView, and ‘provide’ it to the surface request we passed in. Since the surface request is integral to displaying our UI, I’ve modeled it as part of our screen’s UIState. It is then exposed to the UI via a MutableStateFlow so that we can safely “publish” updates from any thread.
Image Analysis use case
private val _analysisExecutor: Executor = Executors.newSingleThreadExecutor()
private val _textRecognizer: TextRecognizer =
    TextRecognition.getClient(TextRecognizerOptions.DEFAULT_OPTIONS)
 /**
  * UseCase for providing camera images to perform analysis.
  */
private val _analysisUseCase = ImageAnalysis.Builder()
    .setResolutionSelector(
        ResolutionSelector.Builder()
            .setResolutionStrategy(
                ResolutionStrategy(
                    /* boundSize = */ Size(/* width = */ 640,/* height = */ 480),
                    /* fallbackRule = */
                    ResolutionStrategy.FALLBACK_RULE_CLOSEST_HIGHER_THEN_LOWER
                )
            ).build()
    )
    .setBackpressureStrategy(ImageAnalysis.STRATEGY_KEEP_ONLY_LATEST)
    .build()
    .apply {
        setAnalyzer(
            /* executor = */ _analysisExecutor,
            // Custom Analyzer to detect VIN
            /* analyzer = */ VINAnalyzer(
                textRecognizer = _textRecognizer,
                fetchViewFinderSize = { _viewPortSize.toSize() },
                onAnalysisResult = ::processVINAnalyzerResults,
            )
        )
    }
Next, we set up an ImageAnalysis use case. This use case’s only job is to provide camera frames for our app to perform analysis on (the OCR). Sounds like exactly what we want in order to perform real-time VIN detection.
The code above requests a low-ish “target” resolution, and if it’s not available, the ResolutionStrategy will attempt to find the closest match (ResolutionStrategy.FALLBACK_RULE_CLOSEST_HIGHER_THEN_LOWER). To keep the viewfinder responsive, we set a backpressure strategy of ImageAnalysis.STRATEGY_KEEP_ONLY_LATEST to prioritize the latest frame. If our analyzer takes longer than it takes the camera to produce images, subsequent images are dropped. In my testing, though, text recognition is very fast.
Bind UseCases To Lifecycle
suspend fun bindToCamera(context: Context, lifecycleOwner: LifecycleOwner) {
    val processCameraProvider = ProcessCameraProvider.awaitInstance(context)
    // Bind our UseCases and the "back" camera to the provided LifeCycleOwner (Activity)
    processCameraProvider.bindToLifecycle(
        lifecycleOwner = lifecycleOwner,
        cameraSelector = CameraSelector.DEFAULT_BACK_CAMERA,
        _cameraPreviewUseCase,
        _analysisUseCase
    )

    try {
        awaitCancellation()
    } finally {
        processCameraProvider.unbindAll()
        // Clears the UI
        _uiState.update {
            it.copy(
                surfaceRequest = null,
                detectedVINs = emptyList(),
            )
        }
    }
}
Note:
processVINAnalyzerResults()and theUIStatehave been omitted for brevity. Code can be found here and here, respectively.
This function is the glue code that will connect our use cases above to a camera and eventually the viewfinder that lives in our UI. In this suspending function, we get a reference to a fully initialized ProcessCameraProvider. It acts as the camera ‘manager’ that contains methods for binding/unbinding use cases and determining camera capabilities. The provider is a singleton and it isn’t necessary to hold a reference to it.
Before we bind the camera, we must pass our custom ImageAnalysis.Analyzer, intuitively named VINAnalyzer, to the image analysis use case. Our custom analyzer requires two parameters:
- A
TextRecognizer— client performing optical character recognition (OCR) from the ML Kit Text Recognition API - An
onAnalysisResult(VINAnalysisResult)— lambda that gets invoked after the text recognition completes (successfully or exceptionally).
Now that we’ve prepared our use cases and acquired a reference to the ProcessCameraProvider, we have to bind them to the provided LifecycleOwner, which will be an Activity. We specify to the provider that we’d like to use the default back-facing camera (makes sense for an app that scans VINs) for our use cases. Since we’d like to perform some clean-up once we’re done with the camera, and bindToLifecycle() is non-blocking, we need to call awaitCancellation(), which will suspend execution until the calling coroutine is cancelled. This will give us a “hook” to unbind our use cases (closes camera) and reset the UI state once the UI has finished with the camera.
Custom Analyzer
class VINAnalyzer(
    private val textRecognizer: TextRecognizer,
    private val onAnalysisResult: (VINAnalysisResult) -> Unit,
) : ImageAnalysis.Analyzer {

    @ExperimentalGetImage
    override fun analyze(imageProxy: ImageProxy) {
        val mediaImage = imageProxy.image

        if(mediaImage == null) {
            imageProxy.close()
            return
        }

        val image = InputImage.fromMediaImage(mediaImage, imageProxy.imageInfo.rotationDegrees)
        textRecognizer
            .process(/* p0 = */ image)
            .addOnSuccessListener { text: Text ->
                imageProxy.close()
                onAnalysisResult(VINAnalysisResult.Success(text = text))
            }
            .addOnFailureListener {
                imageProxy.close()
                onAnalysisResult(VINAnalysisResult.Error(it))
            }
    }
}
Note:
VINAnalysisResulthas been omitted for brevity. Code found here.
This code is simple enough. First, we convert the CPU image (ImageProxy) to a format TextRecognizer expects, InputImage, then we call process(...). Once the recognizer finishes (success or failure), we MUST close the CPU image to signal to the ImageAnalysis use case that we’ve finished analysis and are ready for another image. Lastly, we return the result of the OCR to our view model.
The Text object returned by the recognizer client is a hierarchical structure made up of blocks, lines, elements, and symbols.
TextBlock- a contiguous ‘block’ of lines of textLine- a single row of textElement- a contiguous collection of alphanumeric characters (“word”); makes up aLineSymbol- an individual alphanumeric character; makes up anElement
For each type, the API also includes a confidence score, as well as coordinate information that represents the location of each element in the source image. Documentation on these types can be found at developer.google.com.
Though not shown, VINAnalysisResult.Success provides a List property that returns all detected VINs found by iterating over all lines contained in Text. Any line with a confidence score less than 50% (score < .5F) is ignored. This should lower the chances of false-positives caused by images captured at “off-angles”. Lastly, the detected VINs are sorted in descending order based on their confidence score — more accurate VINs are found at the beginning.
Note: Because they can be verified mathematically, I’ve opted to only detect North American Vehicle Identification Numbers. In a production app, I encourage using NHTSA’s Product Information Catalog Vehicle Listing (vPIC) API. It’s free for public use and contains information on foreign vehicles (must be registered for sale/use in the US) as well.
The code I use for detecting and extracting basic information (model year, continent, country, and manufacturer) from VINs can be found in Util.kt.
If your use-case doesn’t require “live” image detection, TextRecognizer contains methods for detecting images directly from a Bitmap. You could use Android’s Photo Picker API to select an image, convert it to a Bitmap, and perform OCR on it. A potential use case for bulk text recognition.
UI (MainActivity)
Now it’s time to connect the final piece, the UI, and frankly it’s the easiest part. We just need to ‘collect’ our view model’s UI state so that we can pass the SurfaceRequest along to CameraXViewfinder(...). That’s all that we need to get a live ‘feed’ of the camera on-screen and real-time VIN detection working. The last piece is displaying the detected VIN. Since TextRecognizer is capable of detecting multiple VINs in one-shot, we want to use the first one we find (remember they are sorted based on confidence).
@Composable
private fun CameraPreview(
    viewModel: MainViewModel,
    modifier: Modifier = Modifier,
    lifecycleOwner: LifecycleOwner = LocalLifecycleOwner.current,
) {
    Box(modifier = modifier.fillMaxSize()) {
        val uiState by viewModel.uiState.collectAsStateWithLifecycle()
        val context = LocalContext.current
        LaunchedEffect(lifecycleOwner) {
            // When the Activity enters the `STARTED` state, bind the camera
            lifecycleOwner.repeatOnLifecycle(Lifecycle.State.STARTED) {
                viewModel.bindToCamera(context = context, lifecycleOwner = lifecycleOwner)
            }
        }

        uiState.surfaceRequest?.let { request ->
            CameraXViewfinder(surfaceRequest = request, modifier = Modifier.fillMaxSize())
        }

        AnimatedNullableVisibility(
            // Show the first (most accurate) VIN
            value = uiState.detectedVINs.firstOrNull(),
            content = {
                VinCard(
                    vin = it,
                    modifier = Modifier
                        .fillMaxWidth()
                        .padding(horizontal = 16.dp)
                )
            },
            modifier = Modifier
                .systemBarsPadding()
                .align(Alignment.BottomCenter),
        )
    }
}
Note: The source for
VinCardis available here.
Demo
The demo includes an optimization to improve speed and the accuracy of text recognition: cropping. I’ve updated the UI to display a translucent mask over the camera viewfinder with a small rectangular ‘cutout’ (the crop) that represents the ‘image’ we’ll run OCR against. Because we’re cropping the final image, OCR will run faster (fewer pixels) and the ‘cutout’ acts as a viewport that makes it easier to ‘line up your shot’ so that the VIN is the primary subject.
The code for the mask can be found here.
I’ve updated the VINAnalyzer to perform the actual cropping of the image prior to feeding it to the TextRecognizer. You can find the updated code here.
Wrapping Up
That wasn’t too bad. In slightly longer than an 8-minute read, I was able to give you a brief crash course in optical character recognition (OCR), teach you how to use CameraX to display a live camera feed, and detect text in an image. Learning how to use CameraX with Jetpack Compose is a bonus.
All in all, the actual text recognition part requires less than 10 lines of code. ML Kit’s Text Recognition API is low friction, provides rapid detection, and includes metadata to annotate the detected text. It’s a powerful library that can be applied to a wide variety of use cases besides our novelty VIN scanning. If you think your app has a use case for OCR and would like some assistance integrating it, our development team would love to help.
Photo by Semyon Borisov on Unsplash