Adding Chromecast Support to Your Android App with ExoPlayer

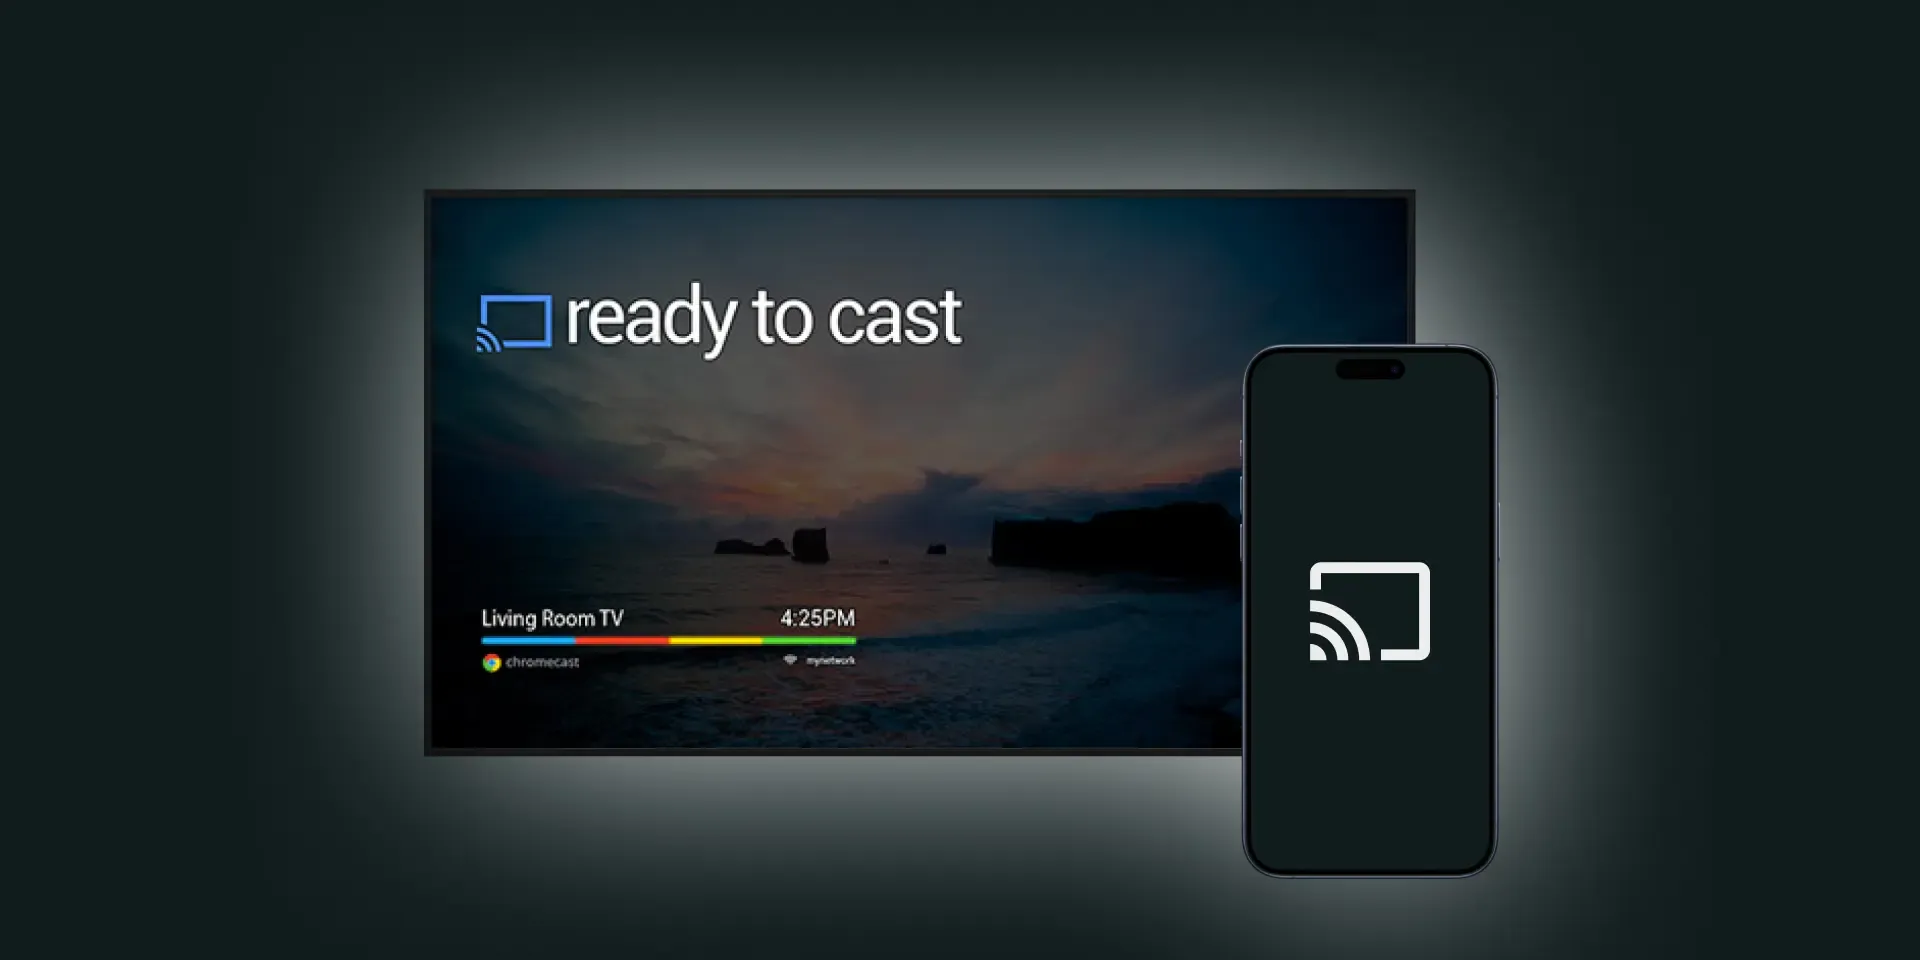
Chromecast enabled apps can serve high-quality content that is best for viewing on a big screen. This article is all about how to make your app Chromecast enabled. If you are already using ExoPlayer in your Android app then adding Chromecast support so you can see your content on the big screen is easy! Image for post
Step 1: Add the Cast button to your app
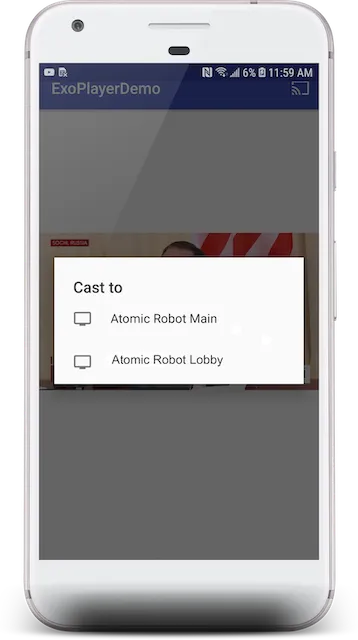
A Cast-enabled application displays the Cast button in each of its activities. Clicking on the Cast button displays a list of Cast devices which a user can select. If the user was playing content locally on their device, selecting a Cast device starts or resumes playback on that Cast device. At any time during a Cast session, the user can click on the Cast button and stop casting your application to the Cast device. The user must be able to connect to or disconnect from the Cast device while in any activity of your application.
Dependencies
Update build.gradle in your app module to include the necessary dependencies:
implementation 'com.google.android.exoplayer:extension-cast:2.9.6'
implementation  'com.android.support:mediarouter-v7:28.0.0'
sync the project to pull in the needed ExoPlayer and Media Router dependencies.
Initialization
The Cast framework has a global singleton object, the CastContext, which coordinates all the Cast interactions.
To properly initialize CastContext, the application must have a class that implements OptionsProvider,an interface to supply CastOptions needed to initialize the CastContext singleton. The most important option is the receiver application ID(cast device )ID, which is used to filter Cast device discovery results and to launch the receiver application when a Cast session is started.
Now declare the OptionsProvider within the “application” tag of the app AndroidManifest.xml.
<meta-data
android:name="com.google.android.gms.cast.framework.OPTIONS_PROVIDER_CLASS_NAME"
android:value="com.google.android.exoplayer2.ext.cast.DefaultCastOptionsProvider" />
Now that the CastContext is initialized, we need to add the Cast button to allow the user to select a Cast device. The Cast button is implemented by the MediaRouteButton from the MediaRouter support library. Like any action icon that you can add to your activity (using either an ActionBar or a Toolbar), you first need to add the corresponding menu item to your menu.
Create the res/menu/cast.xml file and add MediaRouteActionProvider item in the menu before the settings item:
<item
    android:id="@+id/media_route_menu_item"
    android:title="cast"
    app:actionProviderClass="android.support.v7.app.MediaRouteActionProvider"
    app:showAsAction="always"/>
Override the onCreateOptionsMenu() method of your activity by using CastButtonFactory to wire up the MediaRouteButton to the Cast framework:
import com.google.android.gms.cast.framework.CastButtonFactory;

override fun onCreateOptionsMenu(menu: Menu): Boolean {
    super.onCreateOptionsMenu(menu)
    menuInflater.inflate(R.menu.cast, menu)
    CastButtonFactory.setUpMediaRouteButton(this, menu, R.id.media_route_menu_item)
    return true
}
Lazily initialize the CastContext in the MainActivity onCreate method:
override fun onCreate(savedInstanceState: Bundle?) {
    ....
    CastContext.getSharedInstance(this)
}
When you run the app it will look like something below after you tap the Cast button. Image for post
Kudos..!! you are almost there.!! The last step is to actually tell the app to start casting its video content.
Step 2: Cast content from your app
At a high level, if you want to play a media on a Cast device, you need to do these things:
- Create a MediaQueueItem object that models a media item.
- Connect to the Cast device and launch your receiver application.
- Load the MediaQueueItem object into your big screen and play the content.
- Track the media status.
- Send playback commands to the receiver based on user interactions.
In your activity, we initialize CastPlayer to send the video content.
import com.google.android.exoplayer2.ext.cast.CastPlayer
...

private lateinit var castPlayer: CastPlayer
val videoString = "http://cbsnewshd-lh.akamaihd.net/i/CBSNHD_7@199302/index_700_av-p.m3u8"
.....

castPlayer = CastPlayer(CastContext.getSharedInstance(this))
castPlayer.setSessionAvailabilityListener(object : CastPlayer.SessionAvailabilityListener {
    override fun onCastSessionAvailable() {
        castPlayer.loadItem(buildMediaQueueItem(videoString),0)
    }
    override fun onCastSessionUnavailable(){
     // Todo
    }
})
...

private fun buildMediaQueueItem(video :String): MediaQueueItem {
    val movieMetadata = MediaMetadata(MediaMetadata.MEDIA_TYPE_MOVIE)
    movieMetadata.putString(MediaMetadata.KEY_TITLE, "CBSN News")
    val mediaInfo = MediaInfo.Builder(Uri.parse(video).toString())
            .setStreamType(MediaInfo.STREAM_TYPE_BUFFERED).setContentType(MimeTypes.APPLICATION_M3U8)
            .setMetadata(movieMetadata).build()
    return MediaQueueItem.Builder(mediaInfo).build()
}
And that’s it you are done! To see a fully functioning example check out this project on GitHub
If you found this helpful, check out our other articles or get in touch if you would like to work with us on your next project.


