Using SwiftUI and Combine to build a sample project in a day
Prior to working at Atomic Robot, I had never been in consulting. I had always worked for product companies, and there was always work to be done on our products: fixing bugs, implementing new features, writing tests, testing, etc.
Oh, hey! I forgot to introduce myself. My name is Jonathan, and I’m a software engineer at Atomic Robot. I drink coffee and build iOS apps. I’m usually opinionated, appreciate when people are up front and honest, and I will let you know if we aren’t doing the right thing for our users. Sometimes people think I’m scary, but I’m confident we can get along well together. Nice to meet you!
Anyway, when I started at Atomic Robot I was immediately placed on a temporary project until landing at a client site about a week or so later. For the next ~2.5 years I always had work to do for clients. I kept hearing about the bench but had yet to see it. This may or may not be a bad thing? In sports, I never wanted to be on the bench. Put me in, Coach! I’m ready to play! Professionally, the bench seemed interesting, if not intriguing. I could get paid to do… something? Something work-related? Personal projects? Beats me, I had yet to see it!
But then, my time came. A client project was winding down, and I was rolled off. To the bench. So now what should I do?
A couple times during my tenure here at Atomic Robot we have talked about creating a sample iOS project, which could be used as an example of what we, as a company, considered best practices for building high quality iOS applications with a scalable and maintainable architecture. Each time it started, the project fizzled out for a variety of reasons, but now that I was on the bench it seemed like a great use of my time.
In conclusion (yes, I’m starting at the end) after one day’s work I had a complete sample project that did the following:
- Utilized SwiftUI and Combine
- Made network requests to the GitHub API to fetch a list of repositories from the Atomic Robot organization
- Requested a list of commits for a specified repository, and displayed commit details
- Included unit tests
- Modeled a strong architecture practice we could use when building iOS apps
All this after one day of development time! Honestly, I was very pleased with myself. Part of my success absolutely had to do with using SwiftUI and Combine. These tools saved me a ton of time when compared to alternative methods of displaying data on a screen and building views (cough I’m looking at you, UIKit cough). It’s a little bit of reactive programming and a little bit of magic, but in the end (aside from the user interface) we have a production-ready application showcasing some good architecture patterns that we have started to adopt at Atomic Robot. NEAT! Did I mention this only took me one day?
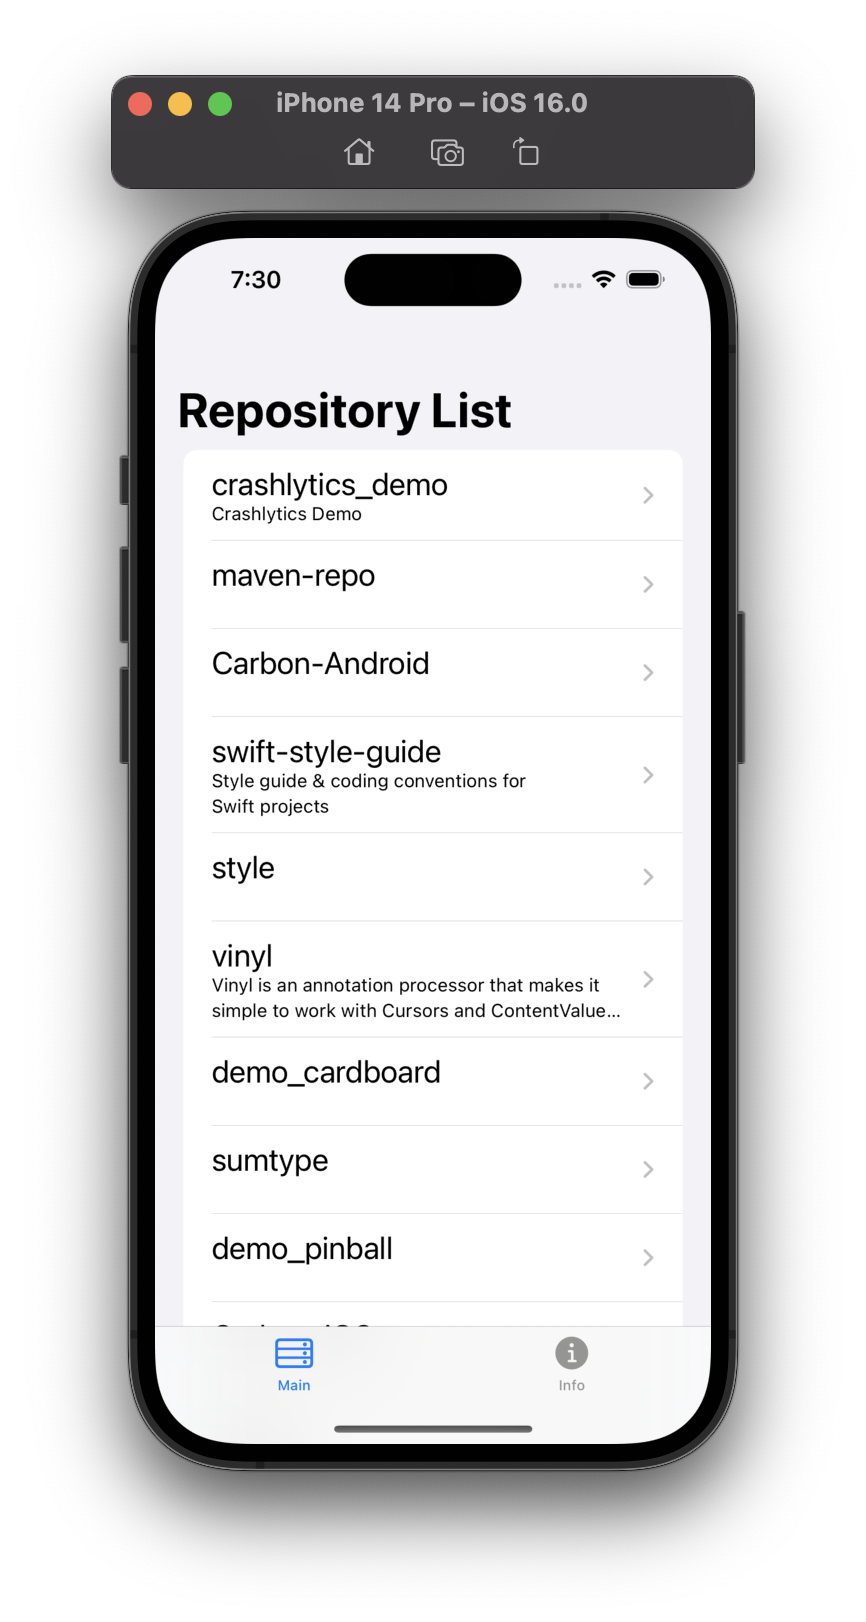
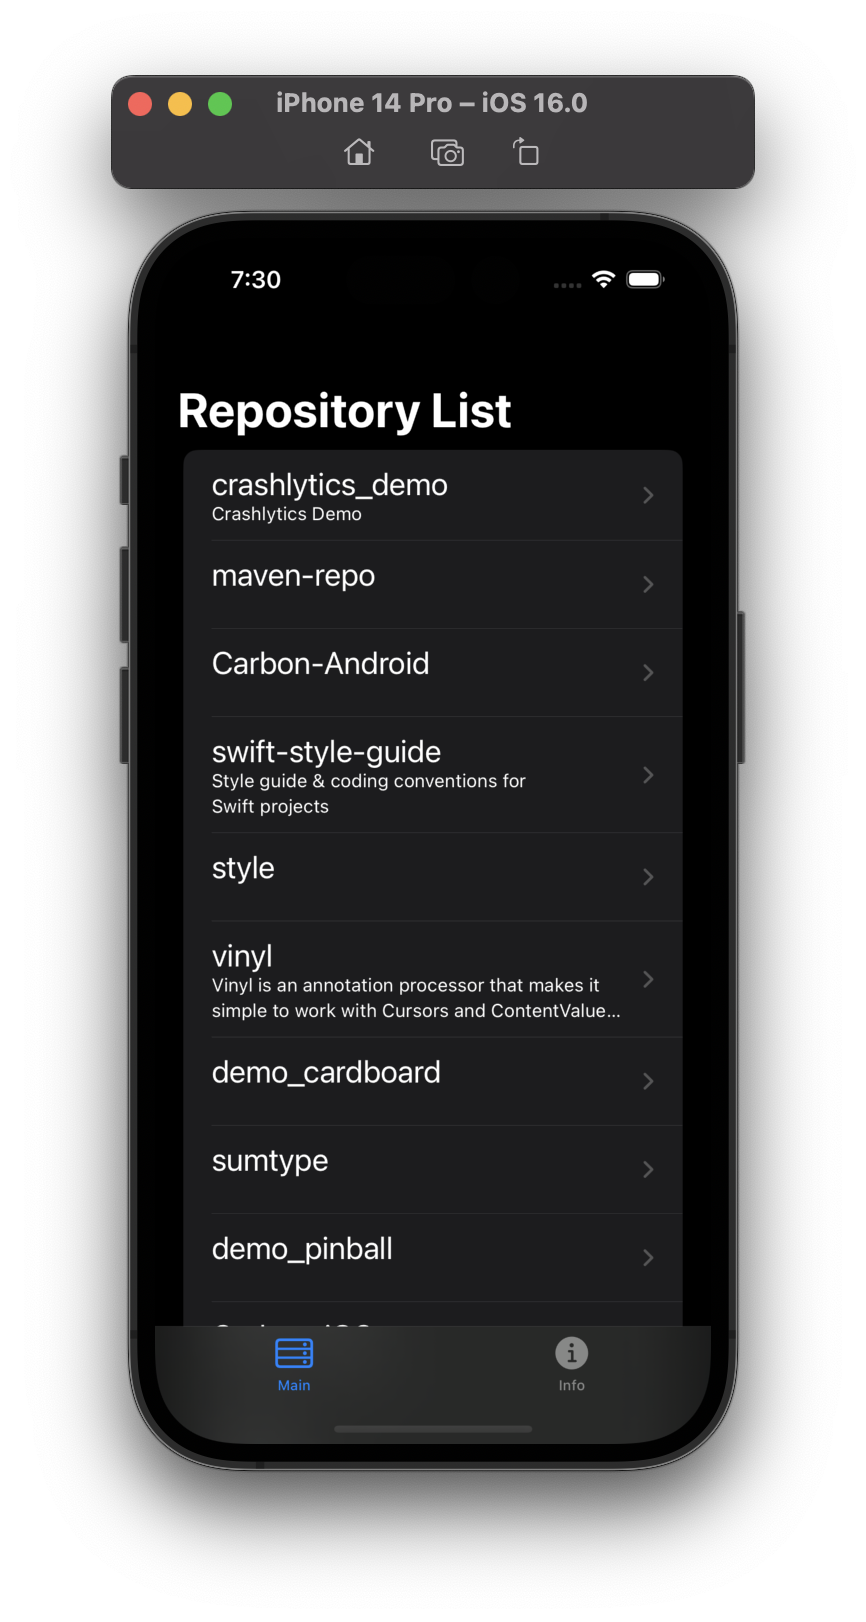
Alright, so how did I do it? Let’s break it down… I think we’ll start with the view layer, which renders like this:
| Light Mode | Dark Mode |
|---|---|

|

|
Here’s some code:
|
|
There are some really great things going on here, from top to bottom:
- Our
RepositoryListViewModelis declared using the@StateObjectproperty wrapper, which basically means it will only be initialized one time for the life of this view. With the SwiftUI view lifecycle this is important because views are lightweight and can be re-rendered a number of times as dependent views and properties change (just trust me on this). - We just created a
Listin like five lines of code. In UIKit the equivalent would be aUITableView, which requires a handful of delegate methods, each of which I typically have to look up in the docs to make sure they are implemented correctly. No more of that stuff, which should make you happy (because it makes me happy). - As the
repositoriesproperty on our view model changes, the view automatically reacts and updates theListcontent. No more callbacks to the view to update or reload! This binding between the view and view model is one of my favorite features of using SwiftUI and Combine. - Using a
NavigationLink(which is inside aNavigationView, not seen here) makes it SUPER easy to push ourRepositoryDetailsViewonto the navigation stack when a row in our list is tapped. .navigationTitle("My Title")adds a title to our navigation view, which is visible at the top of our view automatically, and when we push a new view on the navigation stack. No more remembering whichUIViewControllershould set this property!
Everything you see here is baked right into SwiftUI. It’s awesome! Minimal code and our first view is done, how exciting! Now let’s take a look at the view model and where our data comes from, which is a slightly more complicated:
|
|
- The first crazy thing you will see is that our view model inherits from
ObservableObject, which means that other objects (like aView) can subscribe to changes on this object. - We use a
@Publishedproperty wrapper for some of the variables. This is specifying that this property can be observed for changes. When the value changes, those changes are published to any subscribers (like aView), which allow them to update appropriately. - Next we have the
URLSession.shared.dataTaskPublisherwhich is the start of our Combine chain. This causes a URL request to fire, and the response is passed down through various handlers until we get our final result, which in this case is a list of repository objects. - Map our network results and check for network error
- Decode the
Dataresponse as an array ofRepositoryobjects using our customJSONDecoder - We want to receive the results on the main thread so we can update the UI
- Handle the completion event to check for errors and reset our loading state
- Replace any error we have received with an empty array
- Finally assign the results (which are an array of
Repository) to our local variable
And that’s really the gist of it! I’ve left out some details and helper functions, but after a few dozen lines of code we can fetch a list of repositories from GitHub and display them in a list in our app. Similar steps were taken to fetch a list of commits for a specific repository, and also for fetching commit details. SwiftUI and Combine are really the heroes here and allowed me to spin up a demo app very quickly using a clean architecture. Speaking of architecture…
There are a number of common architecture patterns you can choose from when building an iOS app: MVC, MVVM, MVP, VIPER, etc. For this project I chose MVVM (Model-View-ViewModel), but in the future we might want to rebuild the app using a different pattern so we can compare/contrast what works best for different use cases. I believe MVVM is a great choice here because I want to keep the Models and ViewModels separate from the presentation layer (View) so my application logic can be tested independently. When looking at SwiftUI code samples one thing I have found is that you will sometimes see a lot of logic in the view layer, which is something that should be avoided to maintain a separation of responsibilities. In our sample project, I tried to keep all logic out of the view layer with the exception of something like a simple if statement, eg,
|
|
All other logic should live in the view model so it can be easily tested without a view. Avoid computed properties on the view as well, for the same reason.
And on the topic of unit tests, you should have them! Personally, I like to write them for any logic you have in the application, no matter how simple it is. One of my favorite tests of all time was a simple test to make sure developers correctly updated a clear() function when adding a new setting to UserDefaults. It’s a very simple test, testing a very simple piece of code, but has saved bugs from being introduced into the codebase numerous times. To this day I still have people messaging me a screenshot of the test failure, laughing about it. Our little demo app here doesn’t have a ton of logic, but it’s all tested!
So, there you have it: a demo app created in a day using SwiftUI and Combine. This app was intended to be a starting point to document what good code looks like, and should be updated with new features as we decide how Atomic Robot chooses to approach certain programming problems (like custom build configurations!). Until next time, go build something cool!
Photo by Jose Francisco Morales on Unsplash
